Why It's Important to Have Accurate Design Placement
Proper design placement is one of the most important aspects of creating professional-quality custom apparel. Whether you're decorating garments for customers, businesses, schools, or personal projects, accurate positioning ensures every transfer looks balanced, polished, and consistent.
Why Accurate Placement Matters
When it comes to customizing T-shirts, precision matters. Poorly aligned transfers can make even the best artwork appear unprofessional, while properly positioned designs create a clean, balanced, and visually appealing finished product.
Accurate placement also improves consistency across multiple garments, which is especially important when producing uniforms, promotional apparel, or large customer orders.
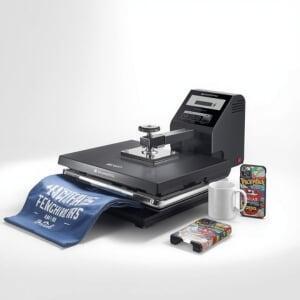
Popular Heat Transfer Design Placements
Understanding common design locations helps you create layouts that look natural on every garment.
- Center Chest – Ideal for large graphics and bold artwork.
- Left Chest – Perfect for company logos and uniforms.
- Full Back – Great for sportswear, team apparel, and event shirts.
- Sleeves – Excellent for branding or decorative accents.
Choosing the Right Placement
Placement depends on the garment style, customer preference, and the size of your artwork.
- Chest logos: approximately 3–4 inches below the collar.
- Full-back designs: begin around 5 inches below the neckline.
- Sleeve graphics: approximately 1 inch above the sleeve hem.
💡
Pro Tip
Use a T-shirt alignment ruler to position your artwork quickly and consistently. It reduces measuring time and improves production accuracy on every garment.
Techniques for Precise Placement
Use Alignment Rulers
Alignment rulers are specifically designed to help position transfers accurately on garments of different sizes.
Center the Shirt
Fold the shirt vertically and lightly press it to create a center guideline before placing your transfer.
Position Back Designs
Fold the garment in half and align your design approximately 5 inches below the collar.
Align Sleeve Graphics
Measure roughly 1 inch from the sleeve hem and center the artwork for consistent results.
Additional Tips
- Always test on a sample garment before production.
- Use heat-resistant tape to prevent transfer movement.
- Batch garments by size for improved consistency.
- Double-check measurements before pressing.
- Preview placements using design software templates.
Mastering Design Alignment Takes Practice
Professional-looking apparel starts with accurate design placement. With proper measuring tools, consistent techniques, and a little practice, you'll produce garments that look polished every time. Investing a few extra moments in alignment will improve quality, reduce waste, and increase customer satisfaction.